Brief Intro
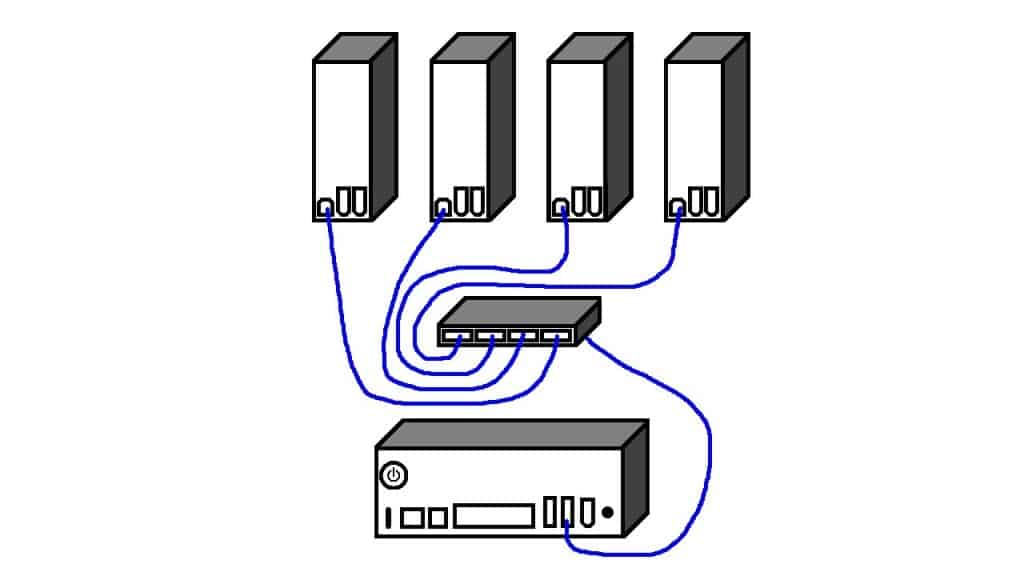
Our district is spread over 11 schools and 4 department buildings with over 2000+ PC’s and 134 printers. With that said I manage them all myself. Each school has their own local server with provides DHCP, Shared Printers, and quick local storage for staff. It’s done this way as many of our schools still have T1 lines and that traffic would kill the network link. In the upcoming months were suppose to get our dark fiber in place which will allow us to combine everything locally into one server. This is my job, move 7 print servers (134 printers) from the schools local servers to one centralized. Note this has to be done 1 at a time. Below is the process I used to move them over and how to properly setup a printer to work with both x86 and x64 operating systems. Also note we have many different manufacturers from Aficio, Dell, HP, Brother, Canon, and a few more..
Step-by-Step Overview
- Locating IP and Manufacturer
- Naming devices
- Setting up the by “hostname” in DNS
- Installing the printer on the new server
- Locate and install x86 drivers along with x64.
Step-by-Step
-
Locate the IP and Model of the printer
1: Print a test sheet from the printer
2: Look up details on your old prints erver and browse to the ip via your web browser
-
Figure out how you want to name your devices
1: School Abbreviation-Device Type-Teacher Or Room Number
2: Examples: WHS-PRN-CFIALA / WHS-PRN-Rm58 / WHS-CPR-Office
-
Set The hostname in DNS.
1: Navigate to your DNS Server
2:In your domain tree go to Action > New Host (A or AAAA)…
3: Click New Host
4: Add the new hostname and IP.


-
Navigate to your new Print Servers Print Management. (Were using Server 2008 R2) and add a new printer
1: Action > Add Printer…
2: Select Add a TCP/IP or Web Service Printer by IP address or hostname > Next
3:
4: Type of Device: AutoDetect5: Host name or IP address: WHS-PRN-CFIALA (Put your printer name here)
6:Port name: It will auto create one for you
7:Click Next
8:
9: Install the default model driver it prompts you with. If it’s unable to locate a suitable driver you will need to obtain it from the printers manufacturer driver page.
10: Set the share name. This is what it will look like when a user installs the printer.
11: Next, Next, and Finish


-
Installing x86 and x64 Drivers
1: Now go to your Windows 7 x86 machine.
2: Install on of the printers you recently installed on the new print server.
3: If it’s able to find the driver go ahead and add it. If not you may need to visit the manufacturer driver page to download it.
4: Once installed, right click the printer and select printer properties.
5: Navigate to the Sharing Tab and click Additional Drivers
6: Put a check in x86 and it should automatically upload the drivers to the server. Note: You will need to be logged in as a network Admin for this to successfully work.