I’m currently in the process of of extracting every mailbox from exchange .edb and exporting them to individual PST’s per user. Started doing this by hand and it was taking forever. Here is the process I used to streamline it.
Exporting PSTs
We purchased a copy of Stellar Repair for Exchange then exported mailboxes as PST’s as our Exchange environment crashed and burned (long story but we just decided to got to 365. We have about 800 mailboxes so this took quite a bit of time.
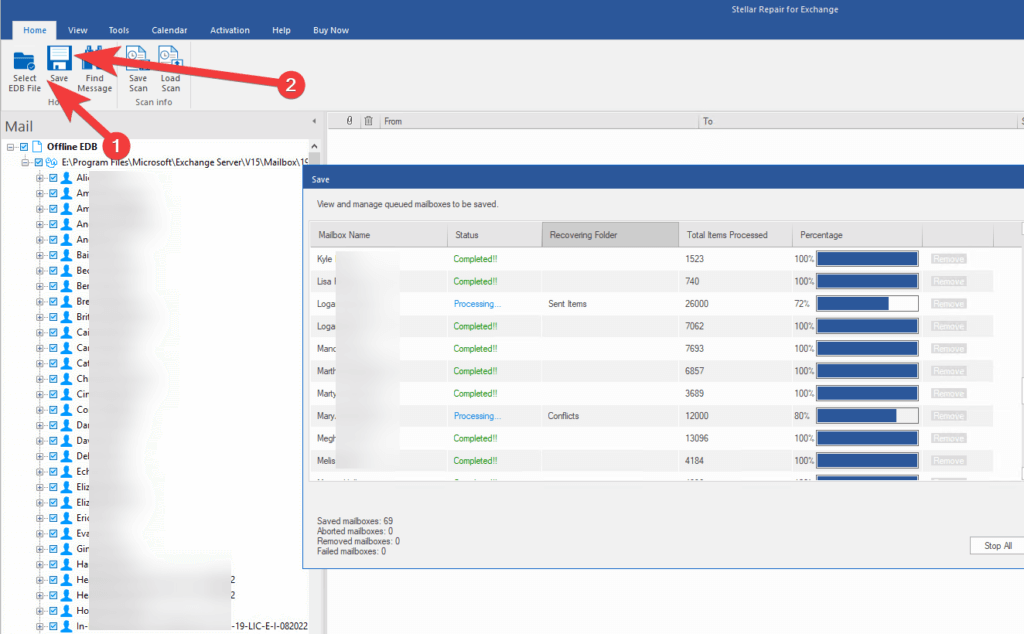
Store them all in one location once your done extracting them.
Get a list of your active users
In https://admin.microsoft.com/ go to Users > Active Users.
Create a new Filter. Next to the search active users list. Here is one I did for Active Staff with A1 Plus license. In our case I had to make 2 filters as we also use A3 licenses.
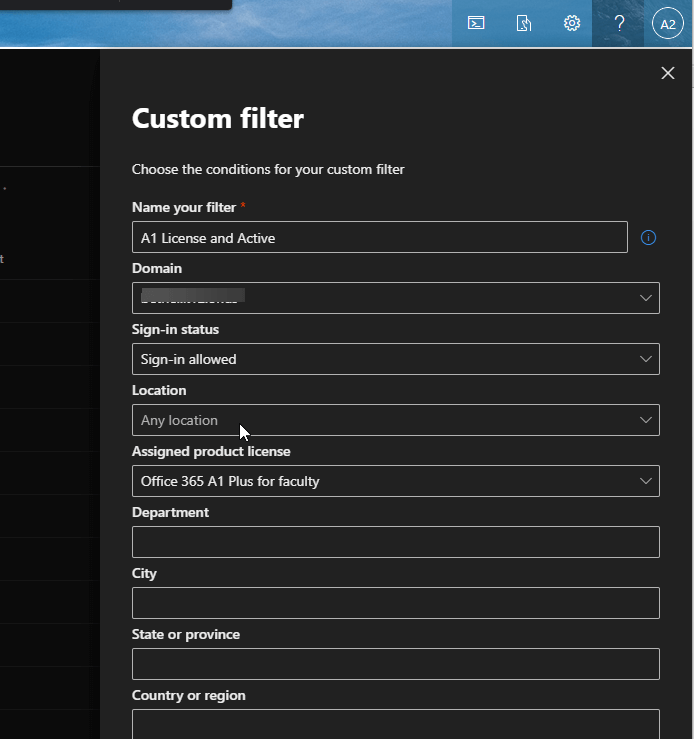
Once done Export Users. Do it for all lists if you created more then one.

Create a new Excel document and paste in the User principal name column from the export. Again, if you did more then 1 export, copy and paste the other users in the same column.
Get a list of PST files
Now just like the last step, we need to add all the PST file names to the same excel sheet in a new column. We’ll do this with PowerShell.
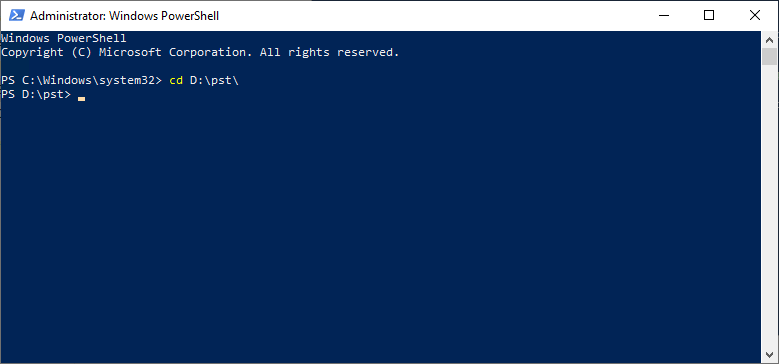
On the machine where the PST files are, open PowerShell.
Change your dir to the PST files. Mine are located in D:\pst
cd D:\pst
Now let’s list out the files.
dir -Name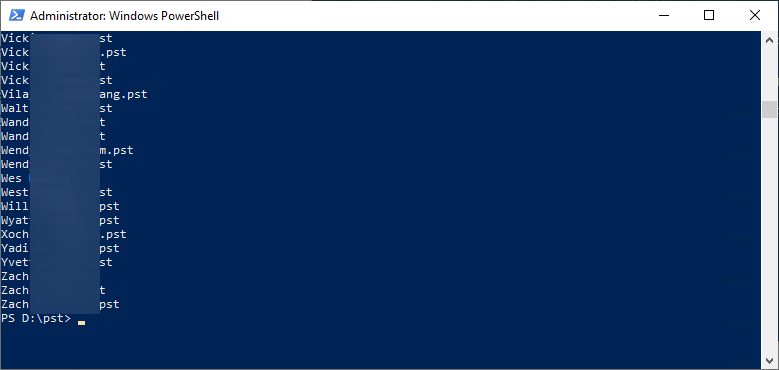
Copy the file names to a new column in our Excel sheet. If you’re familiar with PowerShell you can use the Export-CSV function to create the file for you.
Matching Emails to File Names
So here is an example of what it should look like so far

Let’s add some logic. In a blank column add the following then expand it to the whole column so it will fill all rows.
=IF(A1="","",LEFT(A1,(FIND(".",A1,1)-1))&" "&MID(A1, SEARCH(".", A1)+1, SEARCH("@", A1) - SEARCH(".", A1) -1)&".pst")
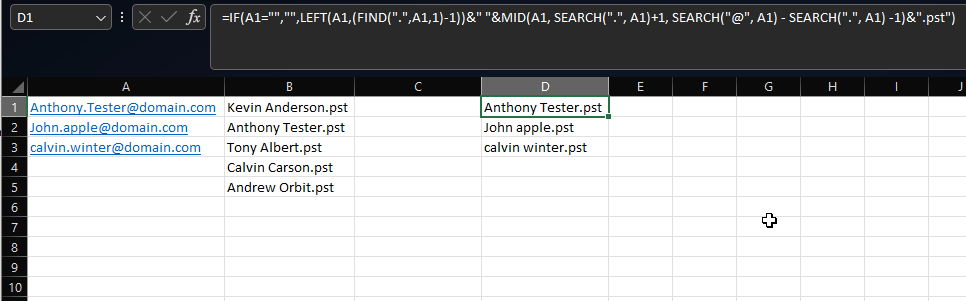
As you can see now the Email (Column A) matches the PST (Column D)
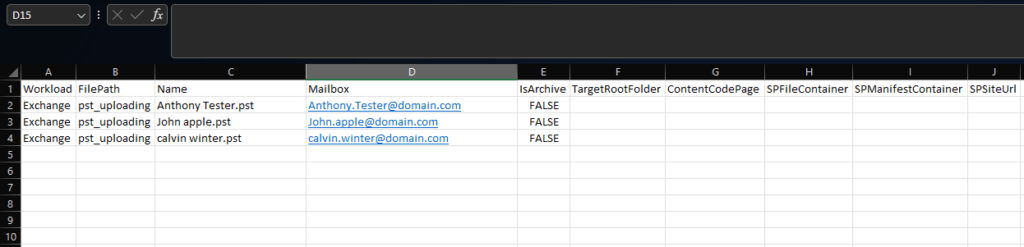
Copy Column D and paste it over Column B as Values. Now you can delete the other columns as this is the format Microsoft wants when you upload your PSTs.
Using Microsoft’s PstImportMappingFile they provide copy these column’s into the proper fields.
Move PSTs with matching mailboxes to a new folder
Now we don’t want to upload .pst’s that wont have an associated account in 365. This is why we pulled that report earlier. Copy all the PST files in the excel sheet that had matches, and create a new .txt file with them in it. Save it as a .csv
Open up PowerShell ISE and paste the following and change the top 3 variables to match your environment.
$file_list = Get-Content D:\list.txt
$search_folder = "D:\pst"
$destination_folder = "D:\pst_uploading"

foreach ($file in $file_list) {
    $file_to_move = Get-ChildItem -Path $search_folder -Filter $file -Recurse -ErrorAction SilentlyContinue -Force | % { $_.FullName}
    if ($file_to_move) {
        Move-Item $file_to_move $destination_folder
    }
}
Run it

Now those are staged and ready.
Upload PST’s to Microsoft and Import them.
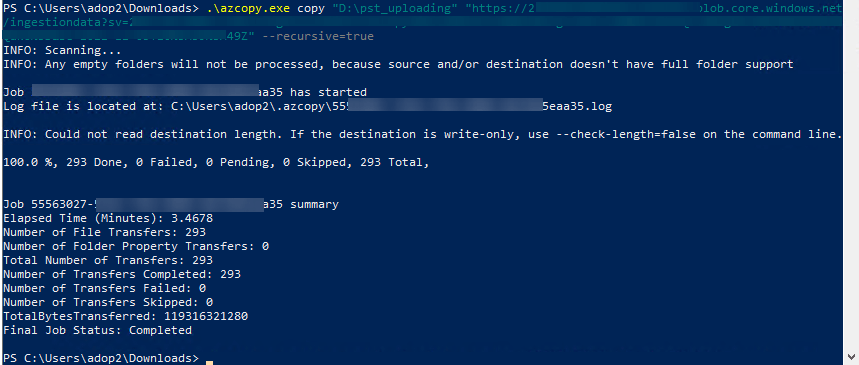
Using azcopy.exe use this script to upload the files Microsoft gives you https://compliance.microsoft.com/informationgovernance
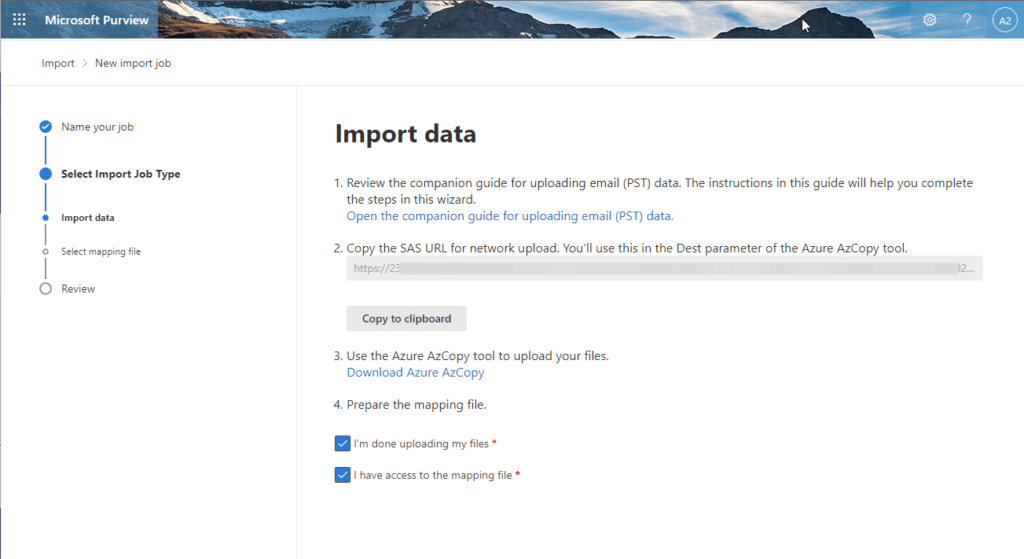
.\azcopy.exe copy "D:\pst_uploading" "https://URLFROMABOVE" --recursive=true
Now the data has been uploaded we need to tell Microsoft which PST corresponds with which mailbox.
Check both boxes and click next.
Select the PstImportMappingFile.csv we’ve created then validate it.
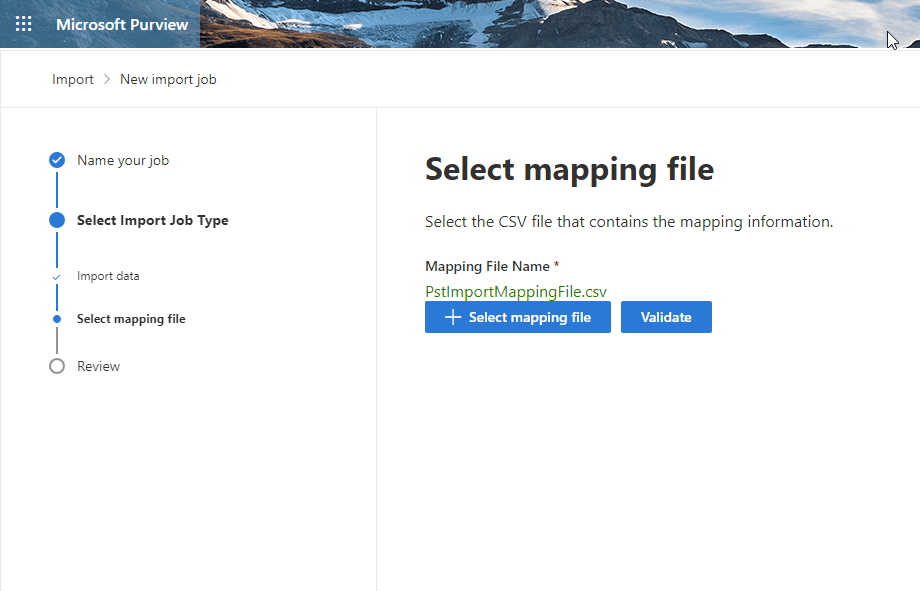
It passed so lets continue and submit the job.
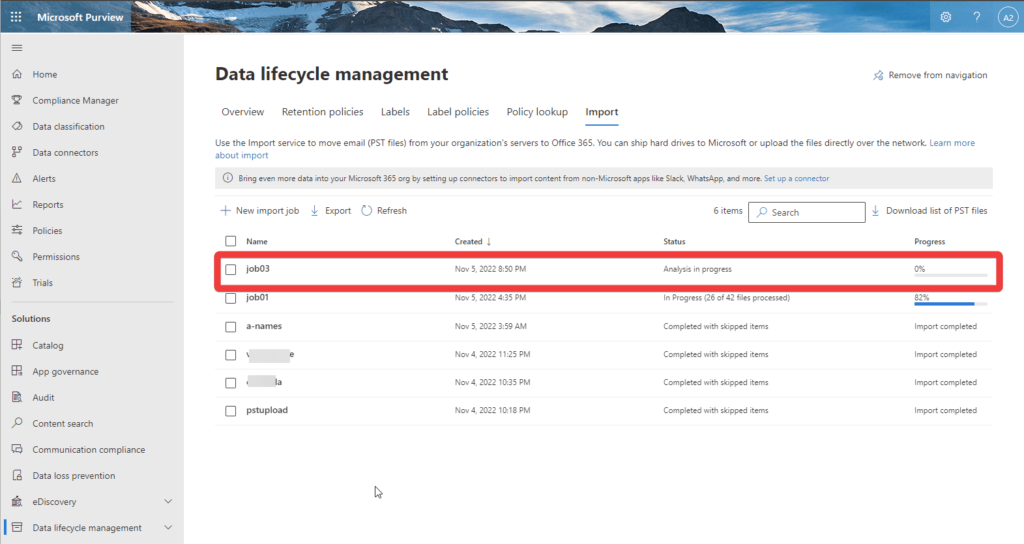
Now we play the waiting game. This part takes AWHILE. It will analyze the file, in which once it’s complete you’ll tell it to actually start the import.
![Hidden Start Menu [Windows 8]](https://www.coryfiala.com/wp-content/uploads/2013/01/hidden-start-menu-win81.jpg)