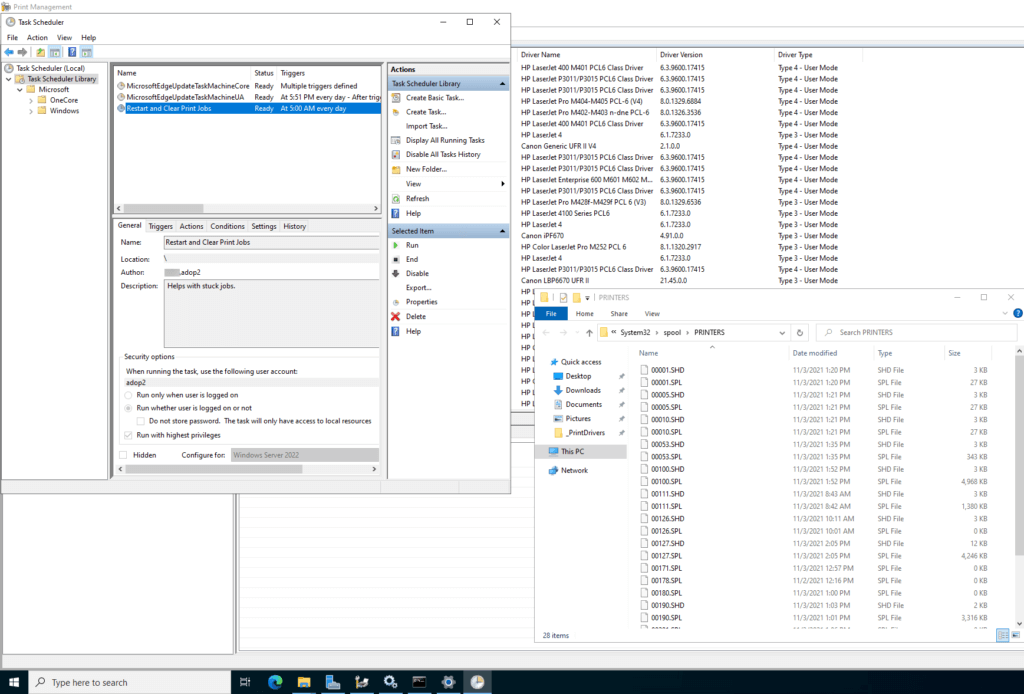
Printers are notorious for causing headaches and frustration, and this was certainly the case for me as I managed a single Windows server with 167 networked printers. It seemed like every so often, print jobs would get stuck and I would have to manually intervene by stopping the print spooler service, cleaning out the print jobs folder, and then restarting the service. This was a simple fix, but after doing it for the umpteenth time, it became a tedious and annoying task.
Fortunately, I’ve found a solution that has saved me countless hours of frustration. By using a PowerShell script, I was able to automate the process of clearing out stuck print jobs and restarting the print spooler service.
The Batch File
To create a new batch file that can be used to clear print jobs, open Notepad and save a new file with the desired name (such as “clear_print_jobs.bat”). Next, copy and paste the following code into the file.
As for where to store the batch file, I prefer to keep my scripts in a centralized location on all my servers. For example, I like to store them at the root of C:_scripts. This approach makes it easy to locate and manage the scripts, while also ensuring consistency across all servers in the environment.
@echo off
net stop spooler /yes
ping -n 4 127.0.0.1 > nul
del /Q /F C:\WINDOWS\system32\spool\PRINTERS*.*
ping -n 4 127.0.0.1 > nul
net start spooler
echo
In a nutshell, this script performs the following tasks: it halts the spooler service, removes all print job files located in C:\WINDOWS\system32\spool\PRINTERS, and then restarts the spooler service.
Scheduled Task
Open up Task Scheduler. Right click “Task Scheduler Library” and select “Create Basic Task”

Name it. I called mine Restart and Clear Print Jobs
For the trigger lets do daily (pick which one works for you)

We want it to recur every 1 day. Select an hour that would be the least inconvenient for your staff.

Select “Start a program”

Sset the following
Program/script: cmd
Add arguments (optional): /c start “” “C:_Scripts\clear_print_jobs.bat”

Click done. Now in the list of jobs double click the job we just created. On the General tab we need to adjust the security options.
Change the user to a service account you use the job will run under, click “Run whether user is logged on or not” and check “Run with highest privileges“

That’s it! Enjoy the automation!


